
EasyPay payments in your WooCommerce store
EasyPay (Easy Wallet) payments in your WooCommerce store, with the settings screen translated into Armenian and Russian.

How it works
Integrates EasyPay LLC’s payment system into a WooCommerce store. The customer completes the payment via Easy Wallet and returns to the shop; the order status updates itself. The settings screen is available in Armenian, Russian and English.
What the customer sees. What you see.
- Shoporder placed
- Bank page3-D Secure
- Returnwith the result
- Verificationshop ↔ bank
- Paidorder updated
What the plugin does
Fully automatic flow
Redirect to Easy Wallet, payment, return, order status.
Settings in three languages
Translated into Armenian and Russian on WordPress.org by HK Digital.
Return URLs for completion
Correct return after success, failure or cancellation.
Local logs
Logs are stored in your WordPress database for support and disputes.
WordPress 6.9+ ready
Maintained for current WordPress and WooCommerce versions.
One settings screen. Nothing to code.
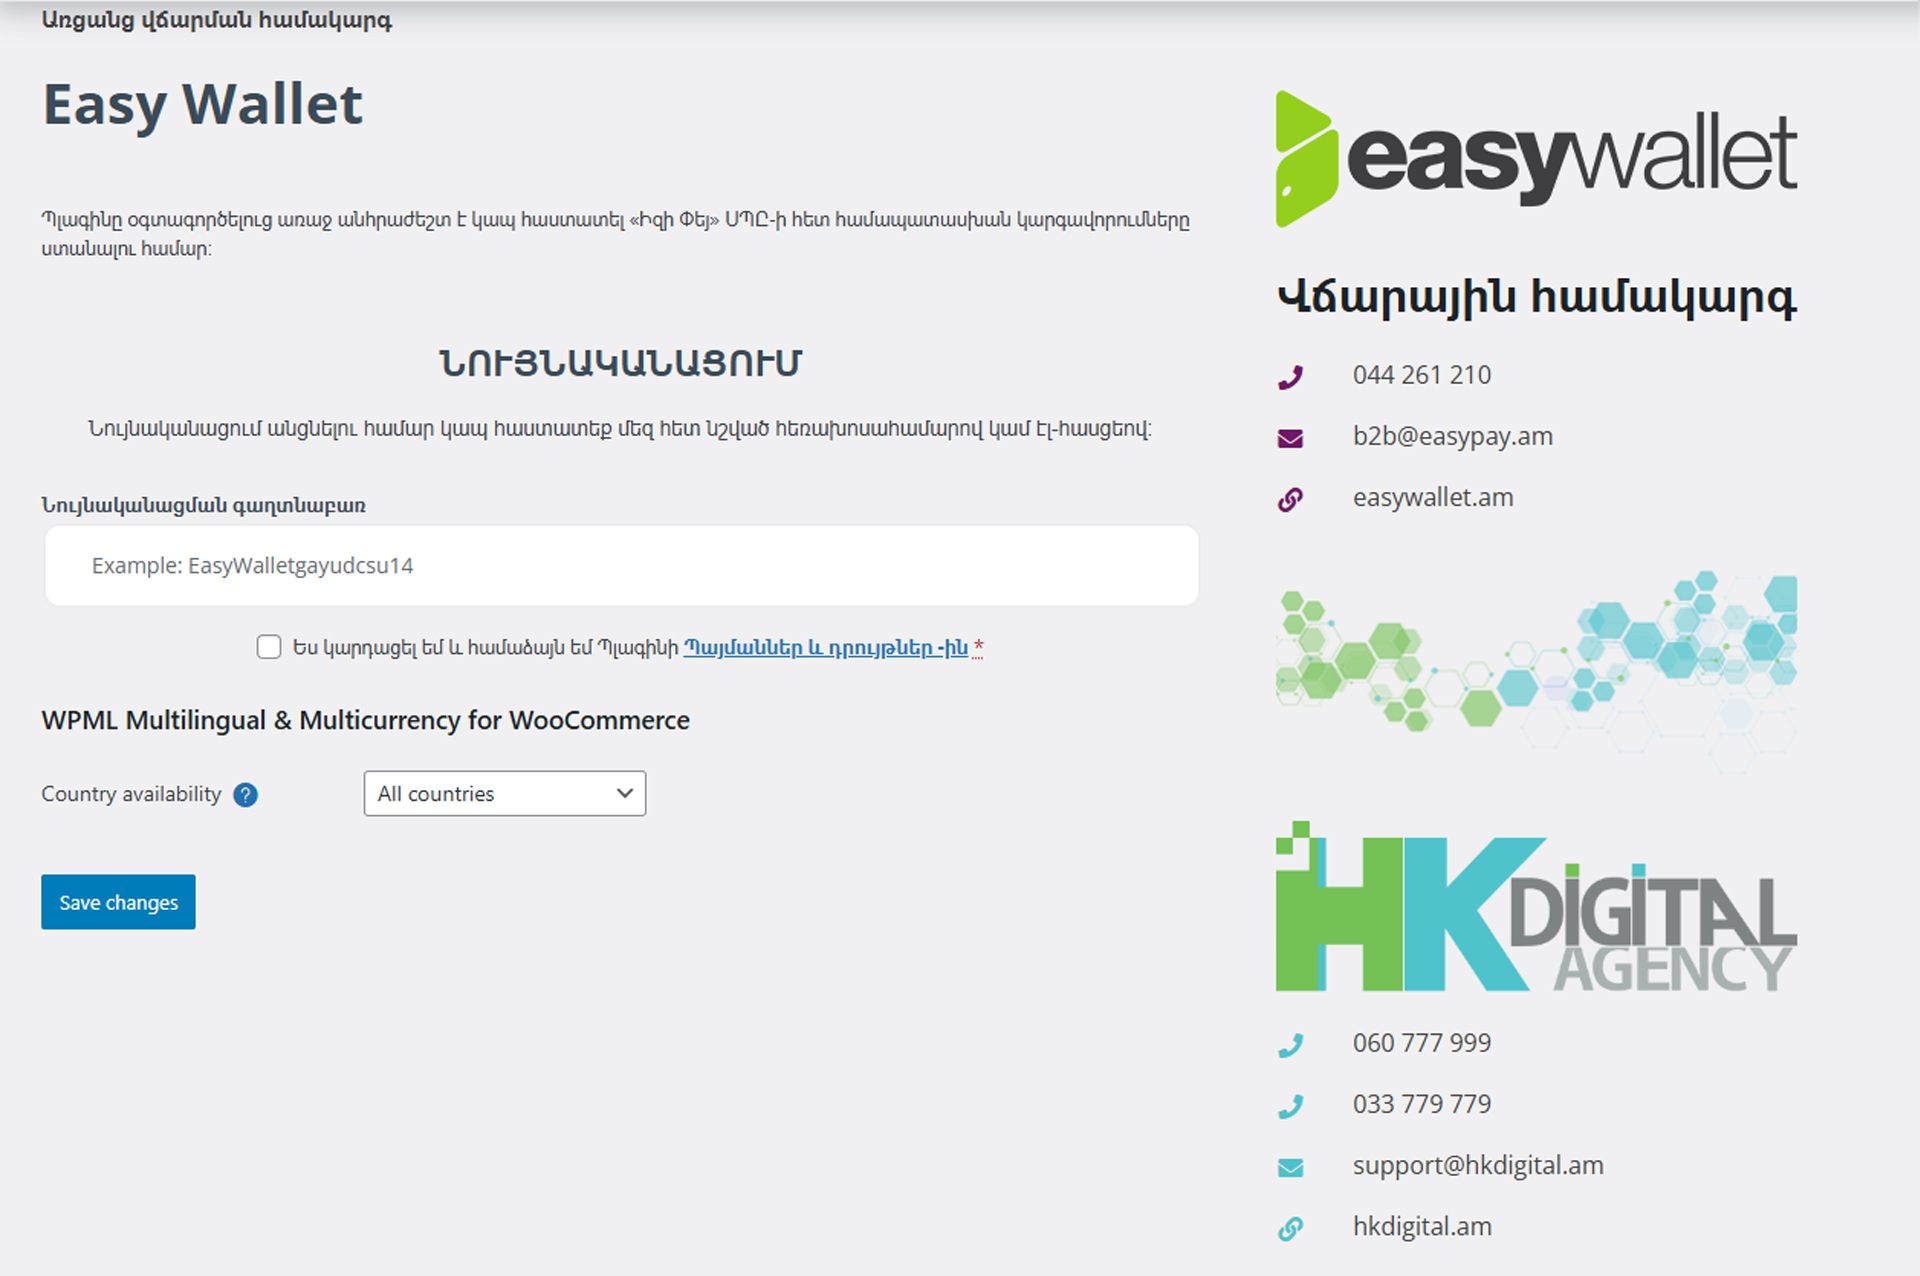
Everything lives under WooCommerce → Settings → Payments. Paste what the bank gave you, pick the mode, save.
- 1Enable the method and give it a name customers will recognise
- 2Paste the credentials from EasyPay
- 3Test mode on → one test payment → test mode off
From download to first payment
- 01
Install
One click from the WordPress plugin directory — no ZIP files, no FTP.
- 02
Connect
Paste the merchant credentials EasyPay gave you. Choose test mode.
- 03
Test
Make a test payment, check the order and the receipt.
- 04
Go live
Flip the switch. Payments land on your account, orders update themselves.
Four things. Tick them and you are ready.
- A merchant agreement with EasyPayMerchant credentials and gateway access from EasyPay LLC.
- WordPress with WooCommerceWordPress 5.0 or newer.
- An SSL certificate (https)Banks only talk to secure shops.
- PHP 7.4 or newerAny modern hosting has it; we check in a minute.
Missing one? Tell us — we deal with the bank and the hosting every week.
The plugin is free. The afternoon is ours.
Before you connect EasyPay
Where do I get the credentials?
Request merchant credentials and payment gateway access from EasyPay LLC.
Who sets the fees?
Payment processing fees are determined by EasyPay.
The payment redirect does not work
Check the return URLs in the settings and that the site is served over https.
Setup guide, licence activation, changelog.
Everything an admin or a developer needs to connect the bank without calling us — and the number to call when they would rather not.


